- Step 0: Cut Pieces
- Step 1: Fuse interfacing
- Step 2: Prepare the cuffs
- Step 3: Prepare the collar
- n/a Step 4: Join collar and collar stand
- Step 5: Optional: Sew in your label
- Step 6: Join the yokes to the back
- Step 7: Edge-stitch the yoke
- n/a Step 8: Close the back darts
- Step 9: Prepare the button placket
- Step 10: Prepare the buttonhole placket
- Step 11: Close the shoulder seams
- Step 12: Edge-stitch the shoulder seams of the yoke
- Step 13: Construct the sleeve placket
- Step 14: Set in sleeves
- Step 15: Flat-fell armhole seam
- Step 16: Close the side/sleeve seams
- Step 17: Flat-fell the side/sleeve seams
- Step 18: Attach cuffs to sleeves
- Step 19: Attach the collar
- Step 20: Hem your shirt
- Step 21: Create buttonholes
- Step 22: Attach buttons
The Freesweing Simone is a Simon with side bust darts.
Step 0: Cut pieces
Using a linen suiting fabric from Gail K Fabrics in Atlanta. I'm using a print from Mood Fabrics for the contrasting inner collar and cuffs.
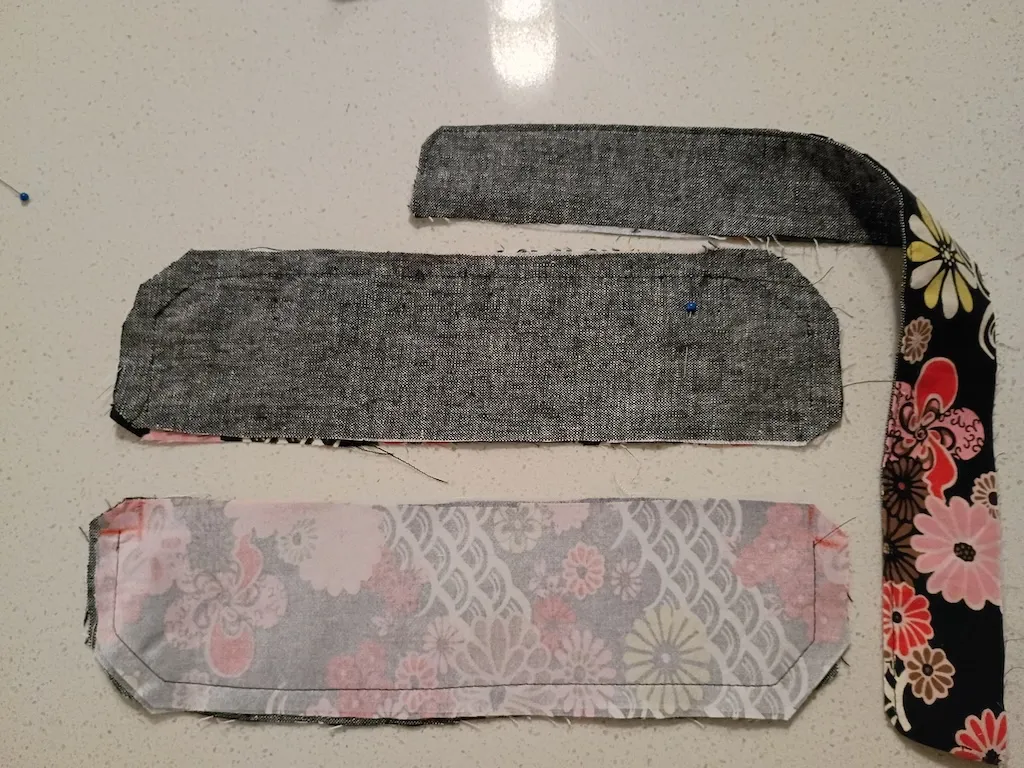
Steps 2 & 3: Prepare cuffs and collar
Step 4: n/a Join collar and collar stand
My favorite shirt is collarless. I prepped the stand to serve as a simple band collar. It's a bit tight, which I'll probably adjust in the next iteration, even though I never close the top buttons.
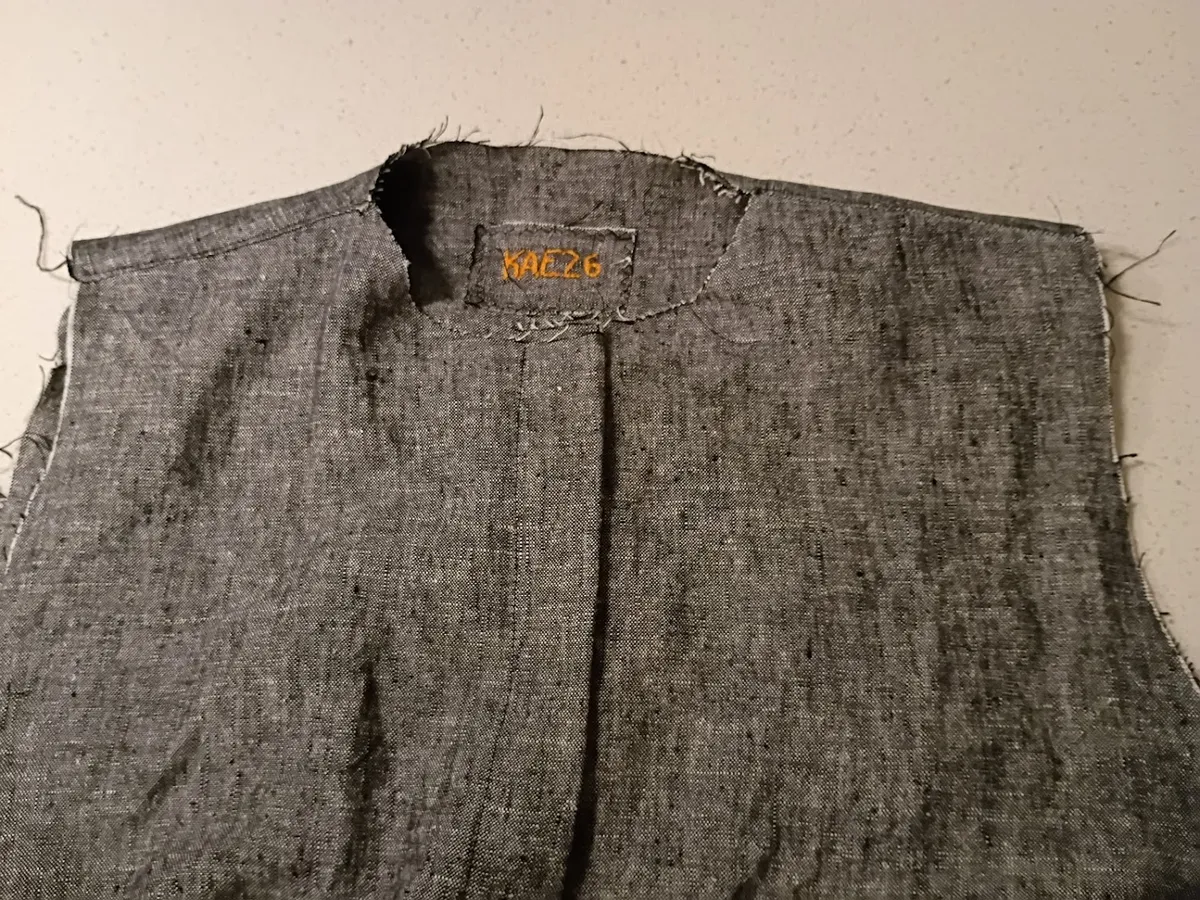
Step 5: Optional: Sew in your label
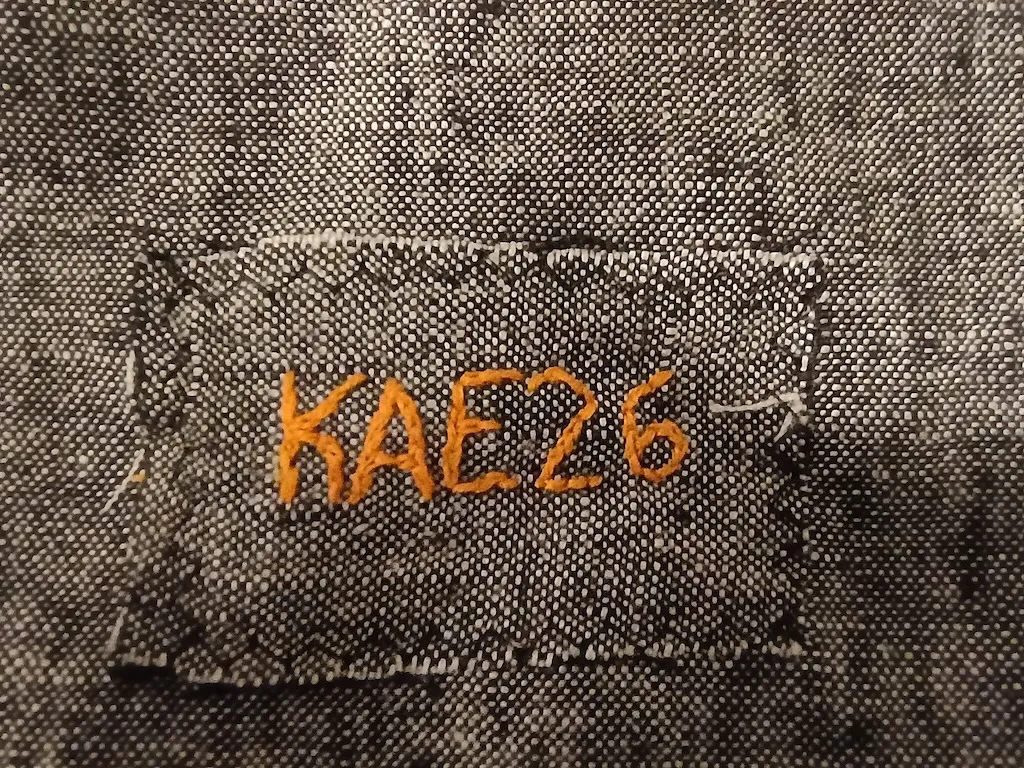
Label embroidered freehand using four strands of embroidery floss and chain stitch.
Steps 9 – 10: Button and Buttonhole Plackets
The Simone pattern diverges a bit from the Simon with the placket design, but it's not hard to figure out. The button plackets are a little bit simpler compared to the Simon Also need to sew the side darts at this point.
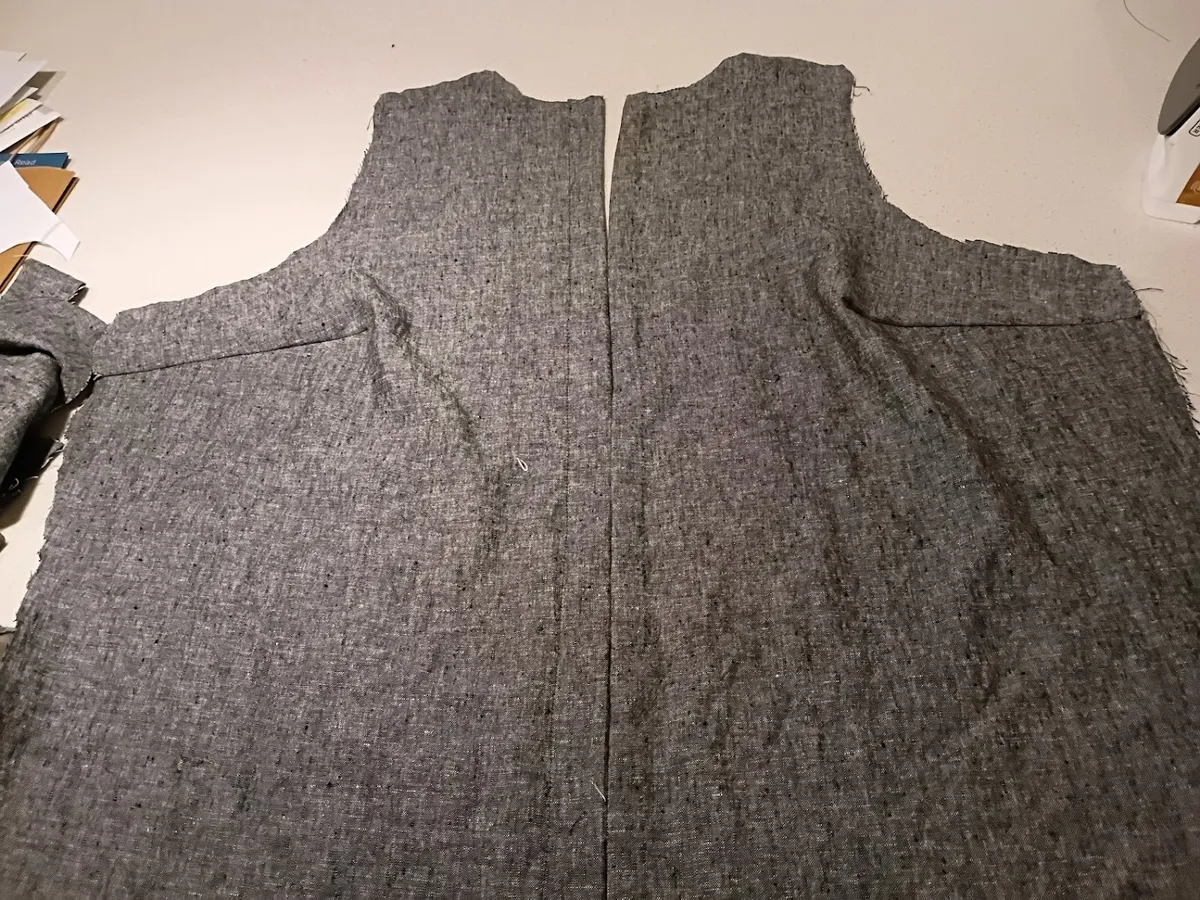
Steps 11 – 12: Shoulder Seams
Now it's almost looking like a shirt.
Step 13: Sleeve Placket
This took me a while because life got in the way. The left sleeve is a bit sloppier than the right. Using a medium-weight cloth made the placket harder to fold. For the second iteration, I hand-basted the folded placket and marked the edges with a contrasting disappearing ink marker. This made it easier to set up the edge stitching responsible for holding the entire thing together.
